Easter Eggs with Natural Dyes
Every year in preparation for Easter, I plan to make a family moment out of dyeing Easter eggs. I so want to recreate the precious moments which I enjoyed with both my grandmother and my mother when growing up.
Unfortunately, since I am always busy, this family moment never takes place. Instead, I usually end up buying chocolate eggs. As you can imagine, the kids don’t really mind this. However, I really want to start a tradition for my family which my children can remember fondly and then pass onto their own children.
Well, since this Easter the situation is slightly different (isn’t this the understatement of the year), I am determined to do this! I have decided to go with all-natural Easter egg dyes because I don’t want any artificial colours or chemicals. Additionally, I am really enjoying the dull shades of the final result. It makes the eggs look different and quite stylish. Obviously, having stylish Easter eggs is not really a priority, but I am not a fan of bright colours.
Here we go.
Preparation and painting
You could use either brown or white eggs depending on how dark you would like the final result to be. Most importantly, however, you shouldn’t use eggs that are too fresh. They should be at least three days old so they can peel easily. Make sure none of the eggs are cracked, then hard-boil and refrigerate after they cool down.
Instructions for the dye
- Combine 1 litre of water and 3 spoons of white vinegar in a pot and bring it to boil.
- Add the ingredients for your colour of choice, lower the heat, and simmer for a minimum of 30 minutes. For a more intense colour, simmer for longer.
- Once you have obtained the desired colour, strain the dye and pour it over the eggs making sure they are covered. Soak the eggs for at least an hour, but I suggest to leave them overnight.
- Take the eggs out with tongs and dry them with paper towels to get that matt look.
The ingredients for natural colours

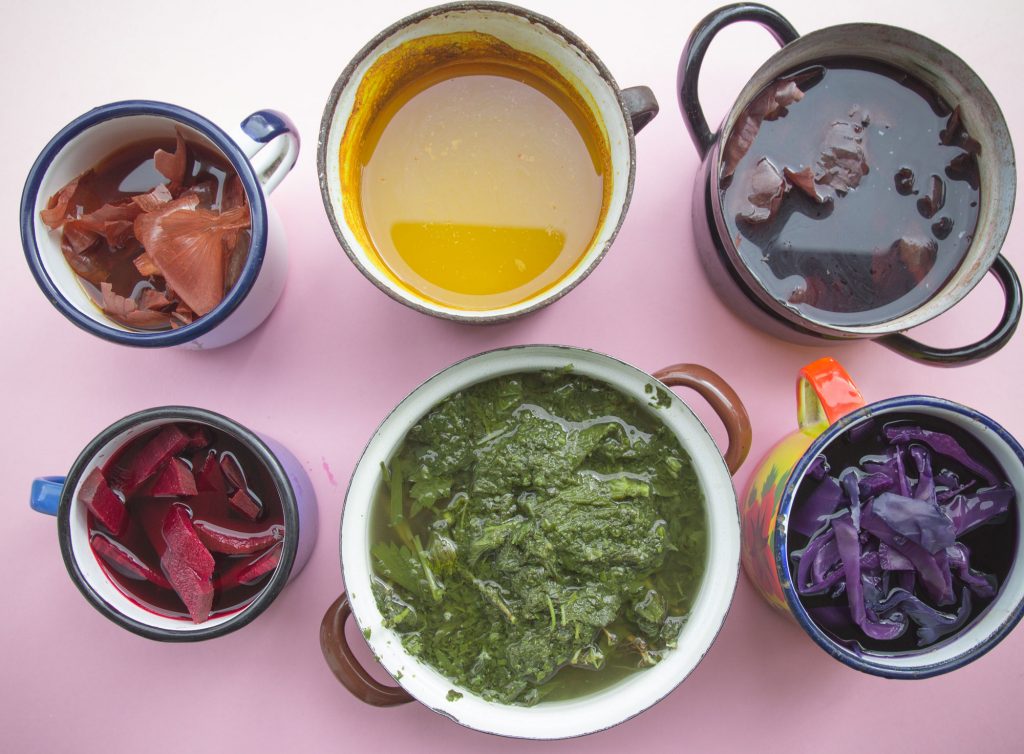
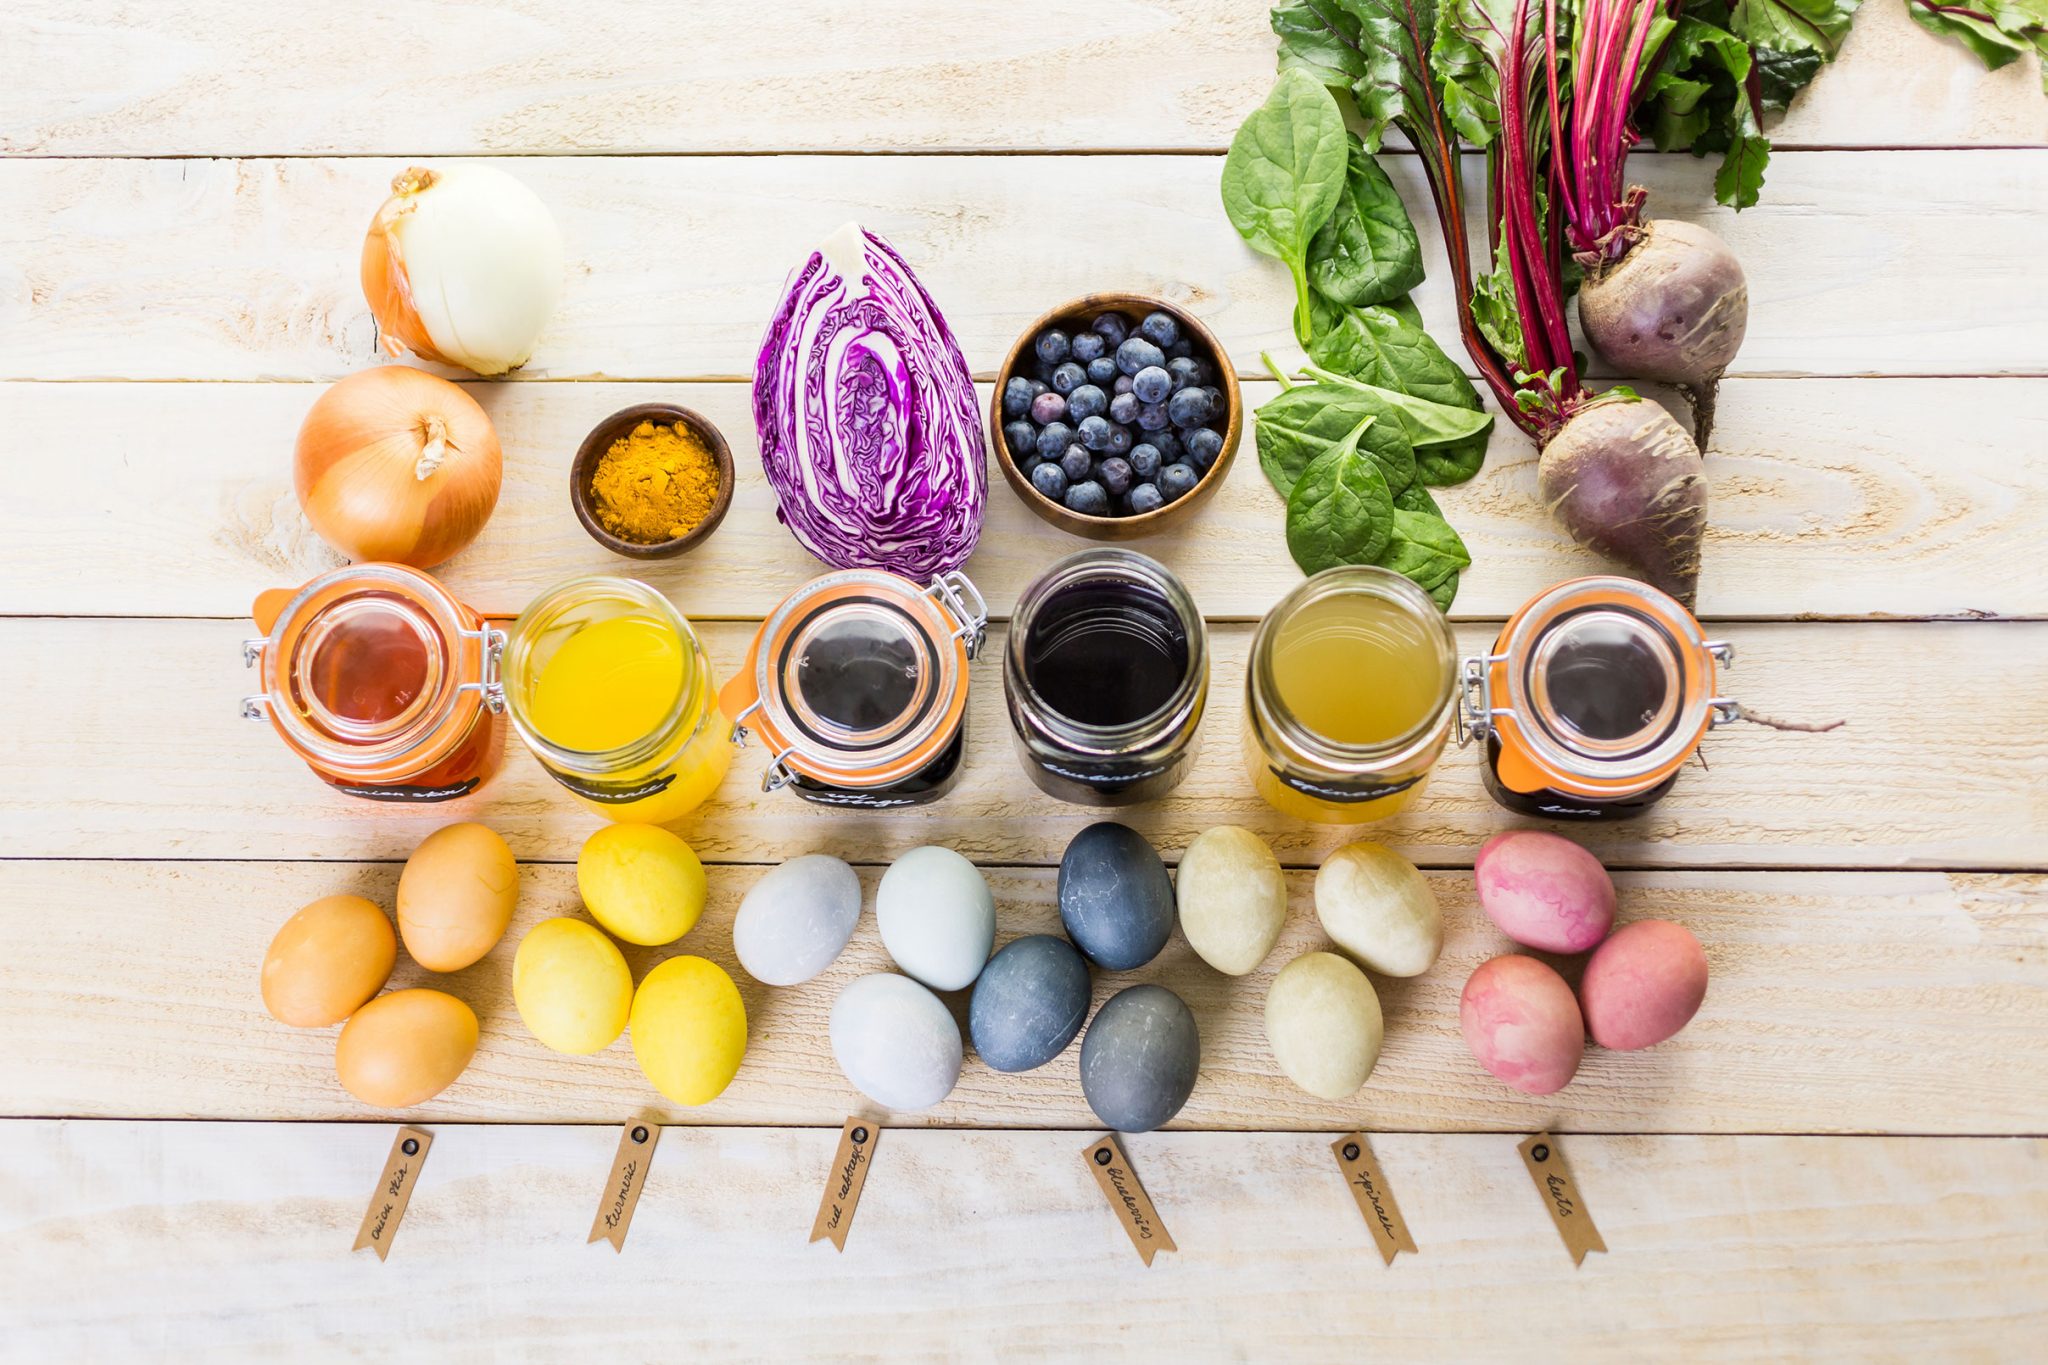
You can obtain each individual colour with the ingredients below. Use at least 2 to 3 cups for each ingredient and at least 3 to 4 spoons for herbs. You can increase the amounts if you would like your eggs to be darker and more vibrant.
Blue Easter eggs
Canned blueberries or red cabbage leaves.
Brown or beige Easter eggs
Strong instant coffee or black tea.
Orange-brown Easter eggs
Chilli powder
Gold Easter eggs
Turmeric
Green Easter eggs
Spinach leaves (boiled), liquid chlorophyll, or simply mix some yellow and blue dye.
Lavender Easter eggs
A small amount of grape juice, violet flowers plus 2 tablespoons of lemon juice.
Orange Easter eggs
Yellow onion skins, carrots, or red pepper.
Pink Easter eggs
Beets, cranberries, frozen raspberries, red grape juice, or pickled beet juice.
Red Easter eggs
Pomegranate juice, canned cherries with juice, raspberries, or cranberries. 3 canned beets in cranberry juice will do a fantastic job!
Violet Easter eggs
Violet flowers, hibiscus tea, red wine, or red onion peels (cooked).
Yellow Easter eggs
Lemon and orange peel (boiled), carrot leaves (boiled), chamomile tea, celery seeds (boiled), green tea, ground turmeric (boiled), or saffron.
Personalisation
If you are planning on gifting any of the eggs, you can add a lovely personal touch. Before soaking the eggs in the dye, write a name, a letter, or draw a symbol on the shell with a crayon. The spot covered in crayon will resist the dye and the result will be a beautiful decoration.


